
Last updated September 22, 2026
Free on-site gate assessment - hinges, posts, and your LiftMaster or Nice gate operator checked before anything is quoted
The assessment is free and the quote is the invoice.

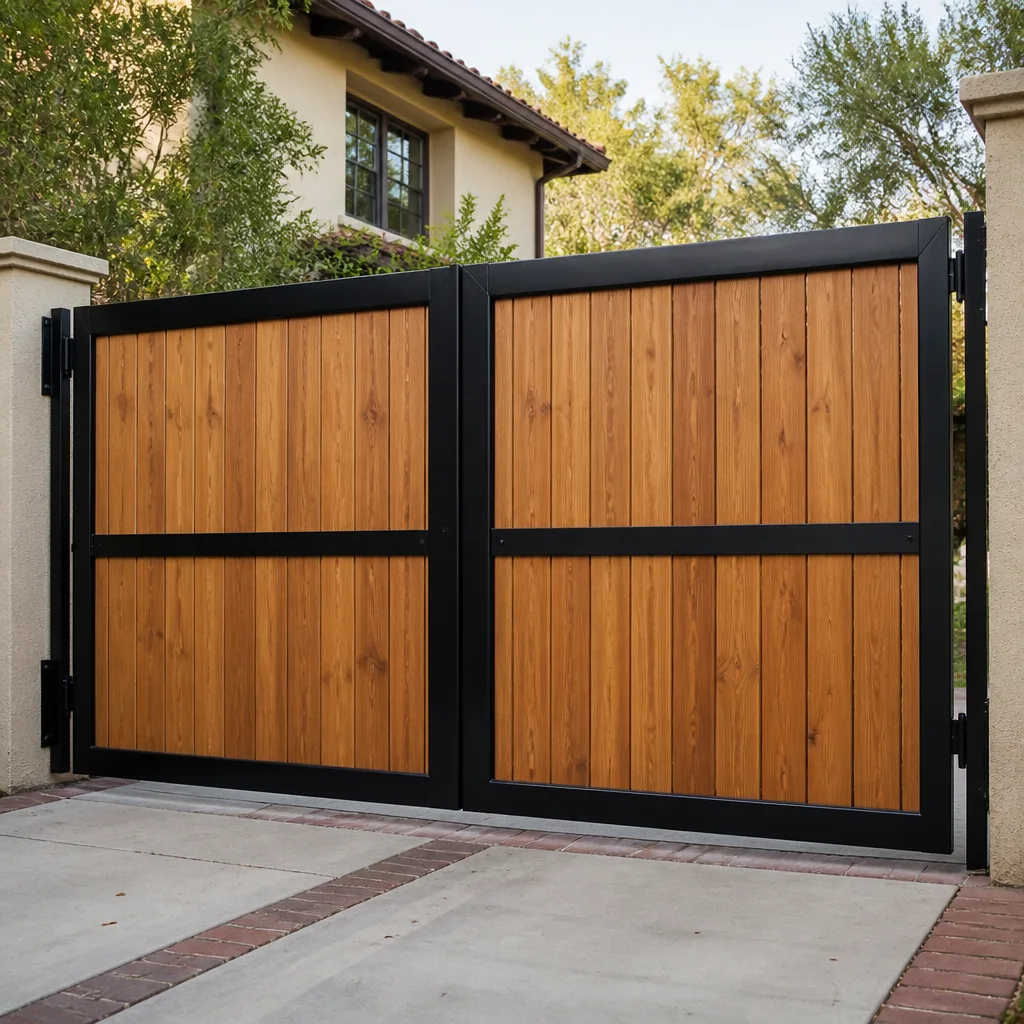

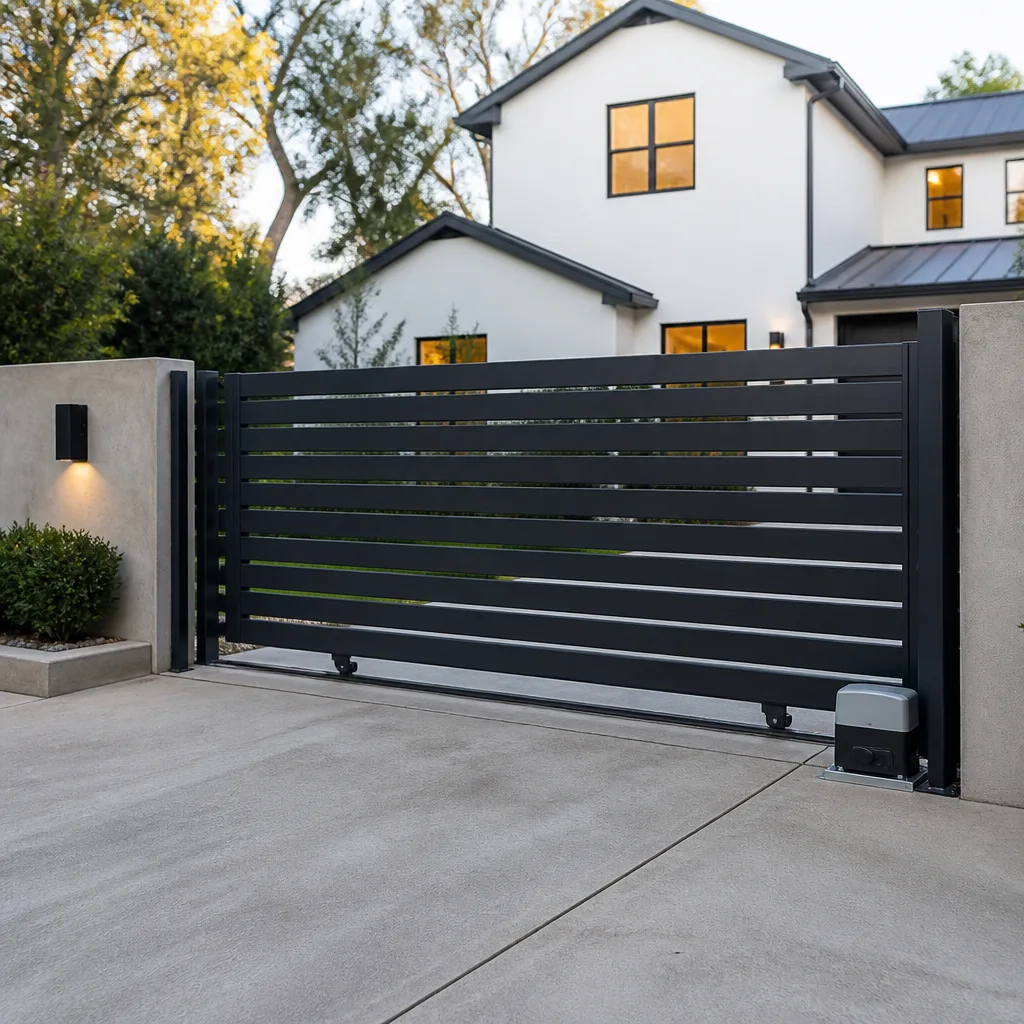

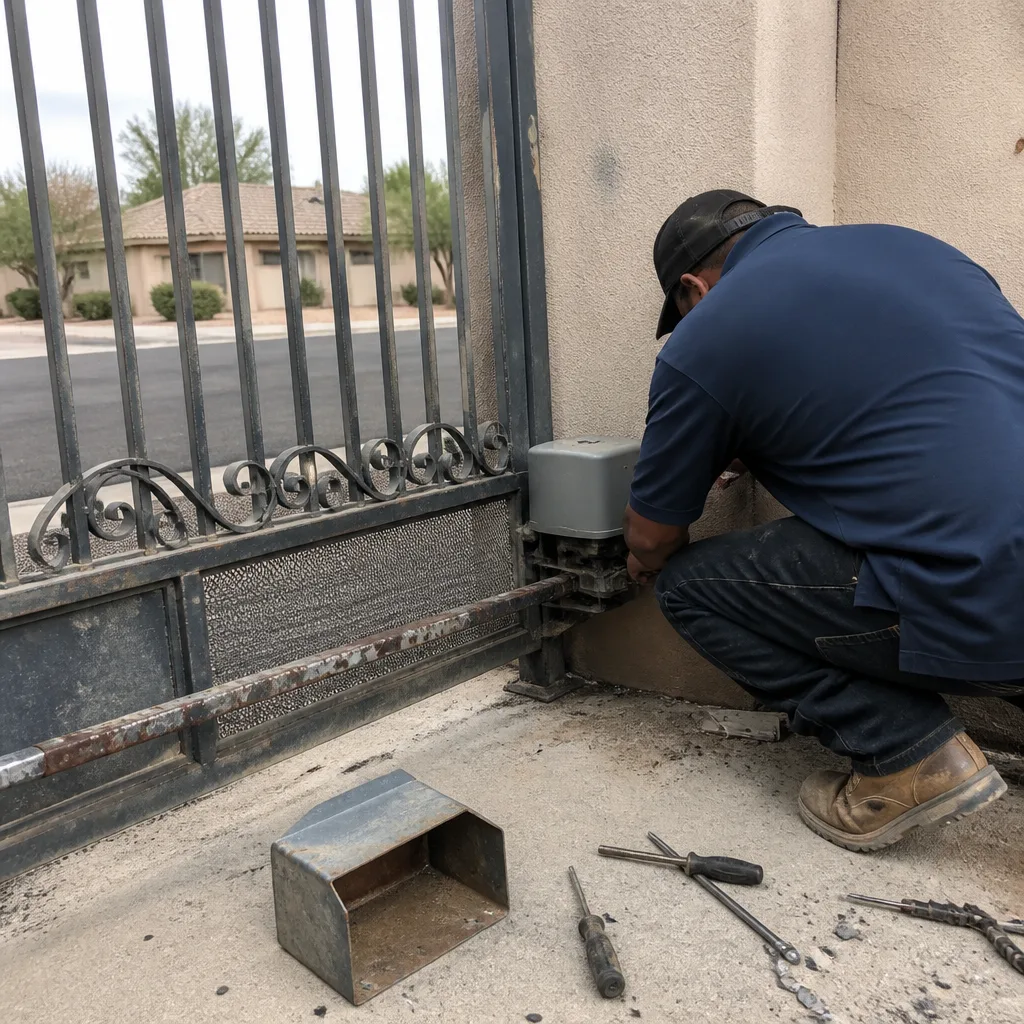 Before
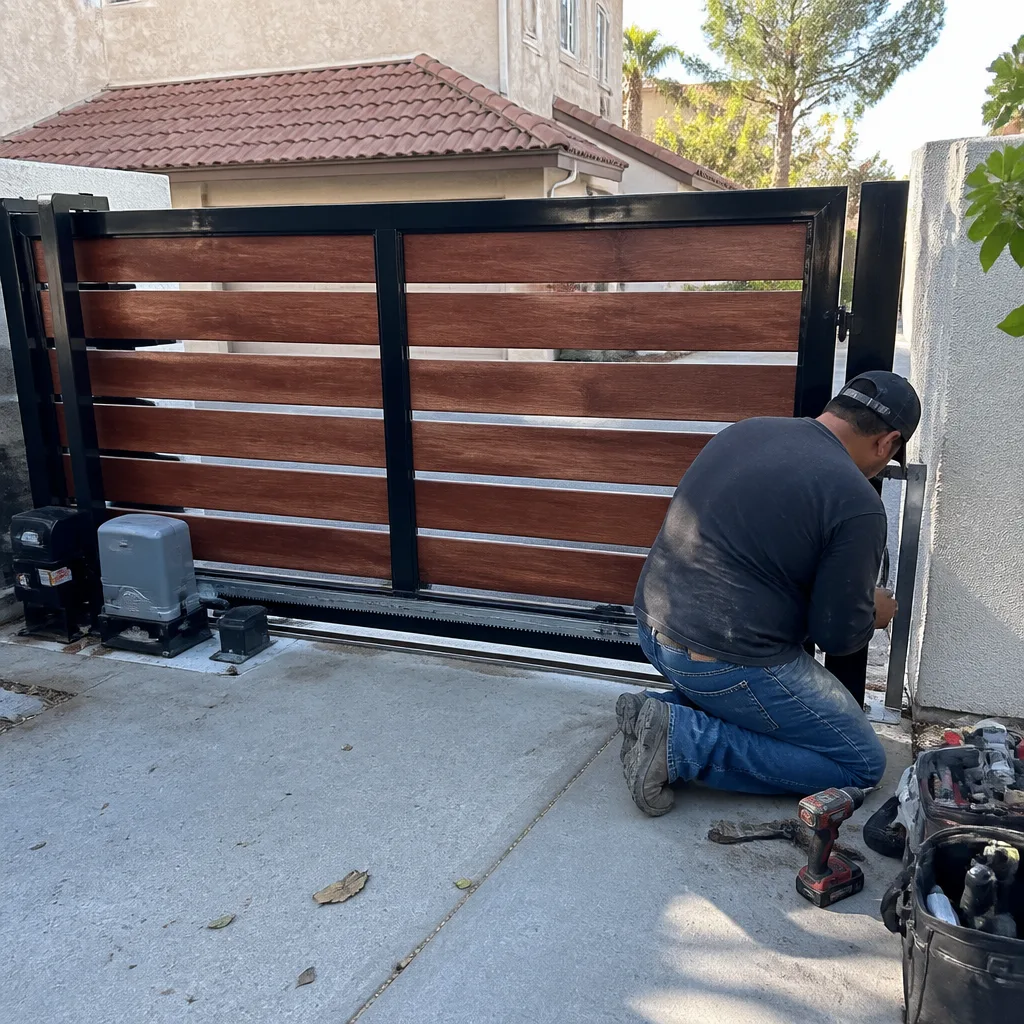 After
After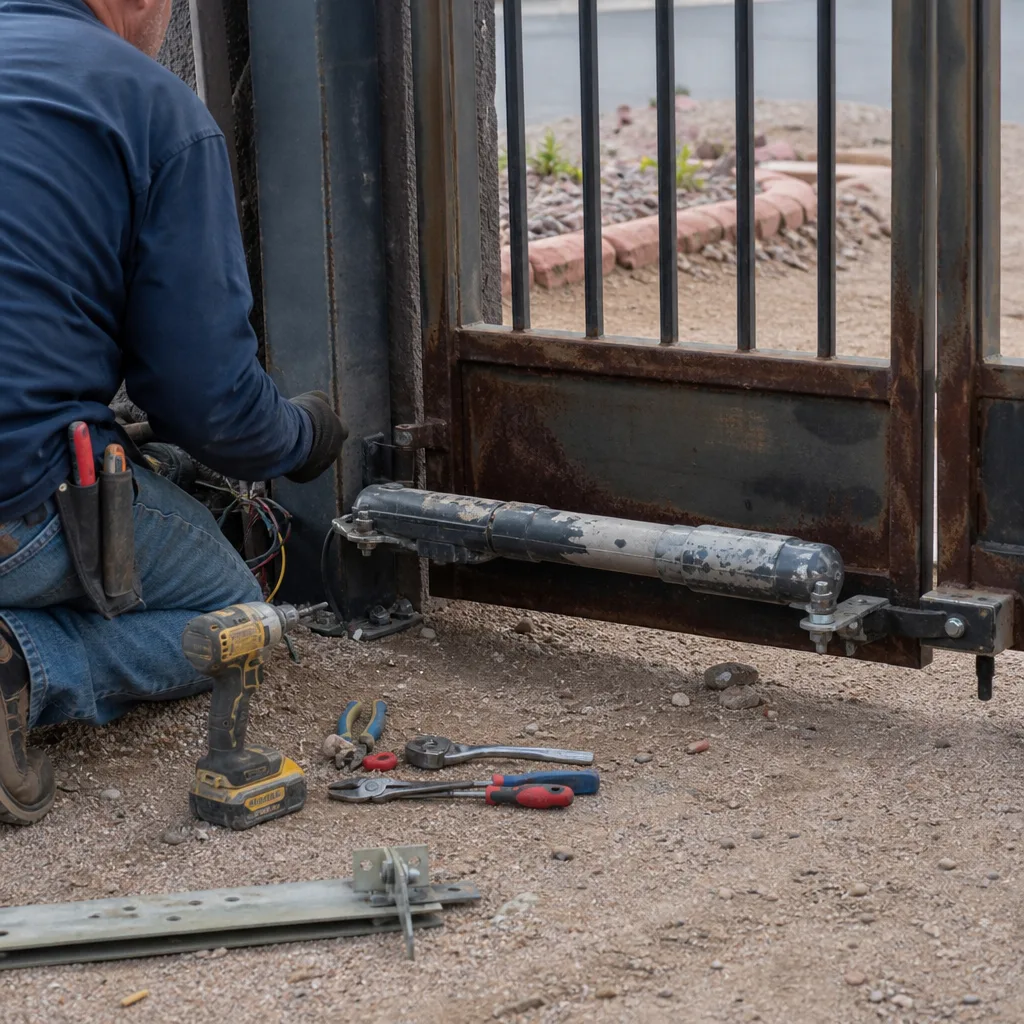 Before
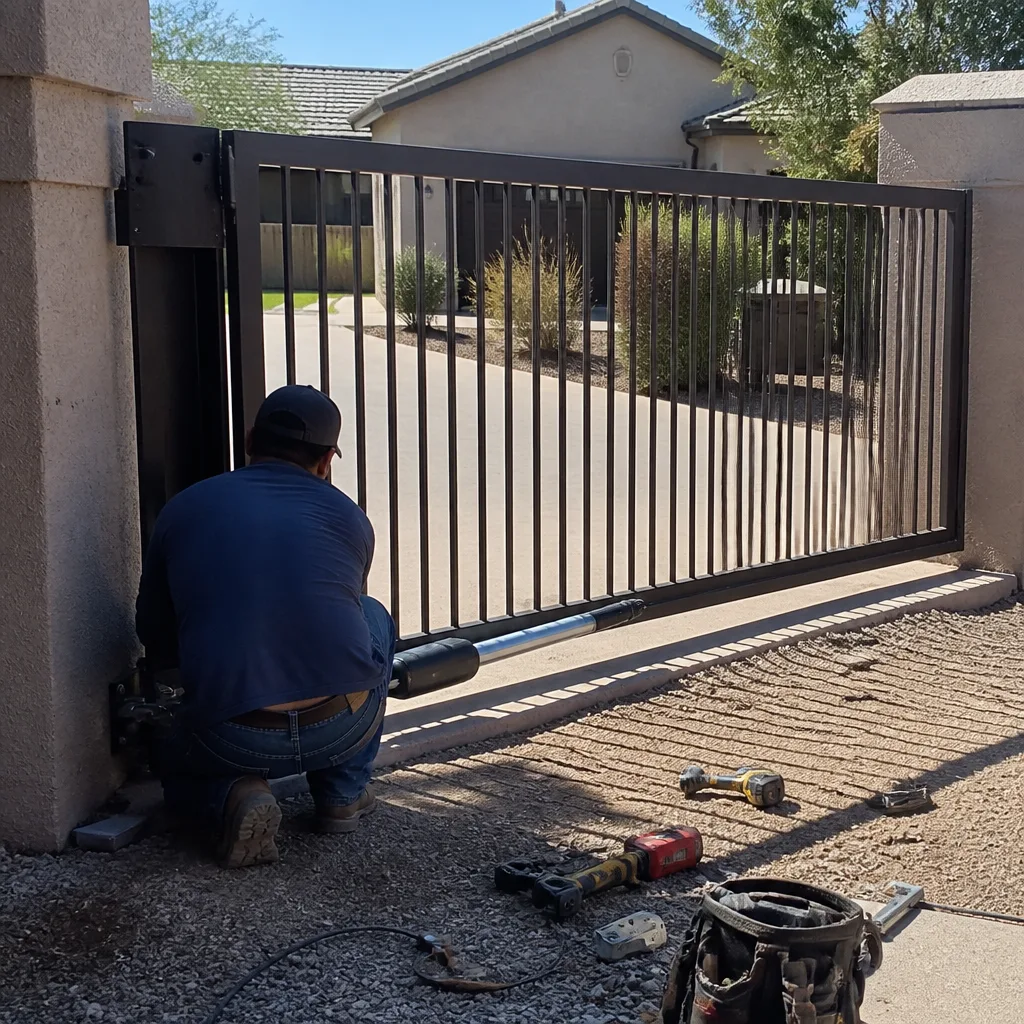 After
After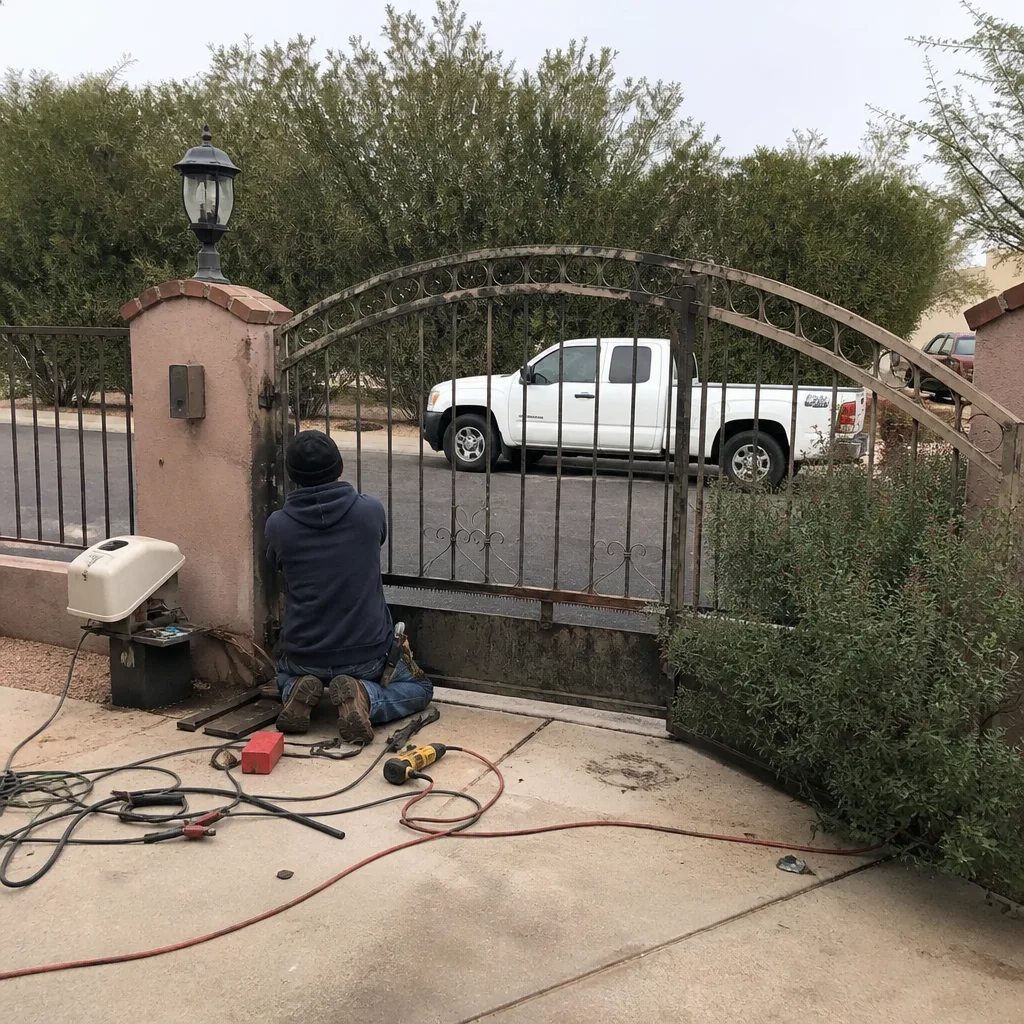 Before
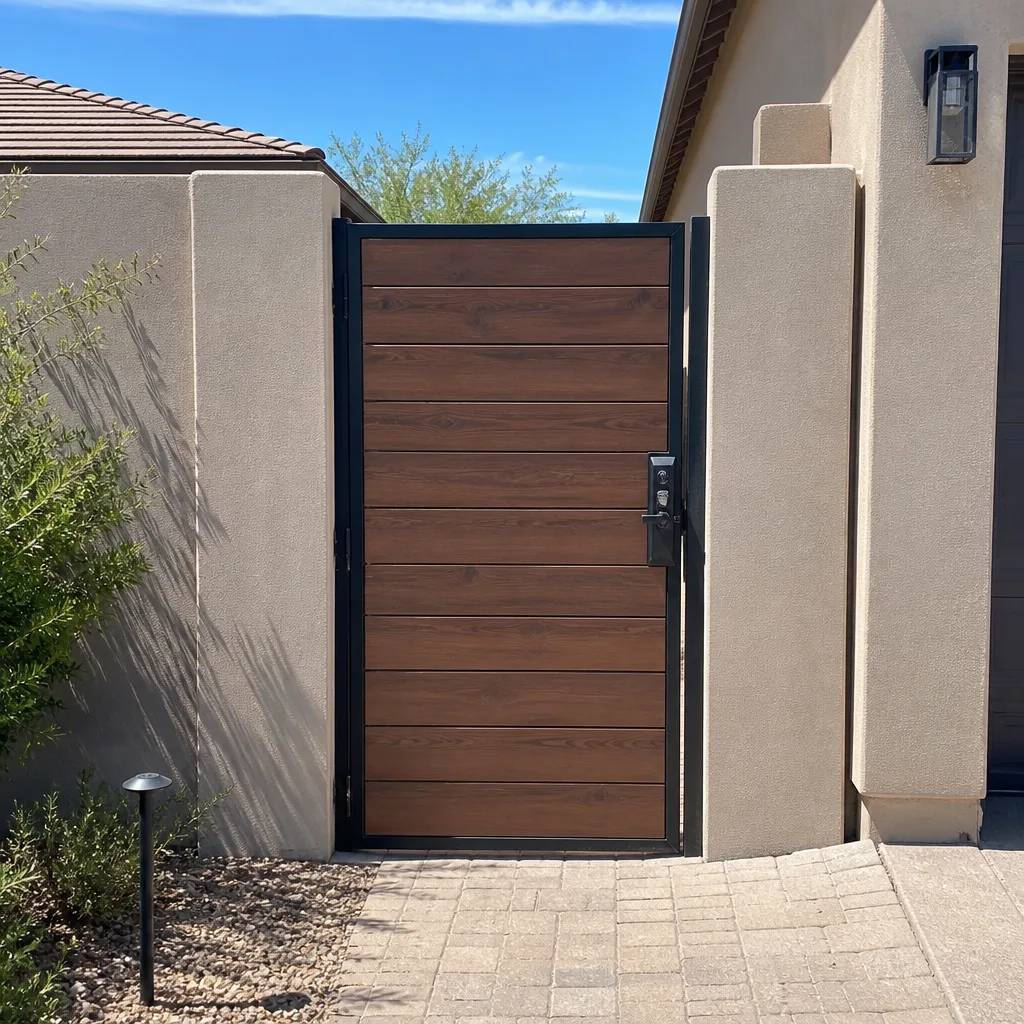 After
AfterGate Repair Maintenance Checklist for Scottsdale Homeowners
A gate that passed every inspection in May can fail by July without a single additional cycle. We’ve seen it repeatedly in Scottsdale: sustained 110°F temperatures stress limit switches, control boards, and motor capacitors even when the gate sits motionless. The thermal expansion of steel components in direct desert sun can shift hinge alignments by measurable fractions of an inch, enough to strain operators designed for tighter tolerances. This guide-along with Gate Repair Warning Signs: A Scottsdale Homeowner’s Reference Guide-is built from eleven years of documented gate service calls across Scottsdale’s climate zones, from the elevated, wind-exposed properties in North Scottsdale to the lower, harder-packed developments near Old Town where monsoon humidity arrives fast and lingers against stucco walls and metal enclosures. You’ll learn a heat-aware inspection sequence, the exact measurements to record so drift becomes visible before failure, and how to build a one-page maintenance log that any future technician can read in two minutes.
Quick Answer
Scottsdale homeowners should inspect their gates on a biannual schedule: once in late April before sustained heat arrives, and once in mid-October after monsoon humidity subsides. Each inspection covers five zones: electrical enclosure temperature and ventilation, mechanical hardware for heat-expanded clearances, photoeye alignment and lens condition, operator motor amp draw and limit switch travel, and drainage around posts and footings. Record baseline measurements in a one-page log; deviation from those numbers predicts failure before symptoms appear.
Table of Contents
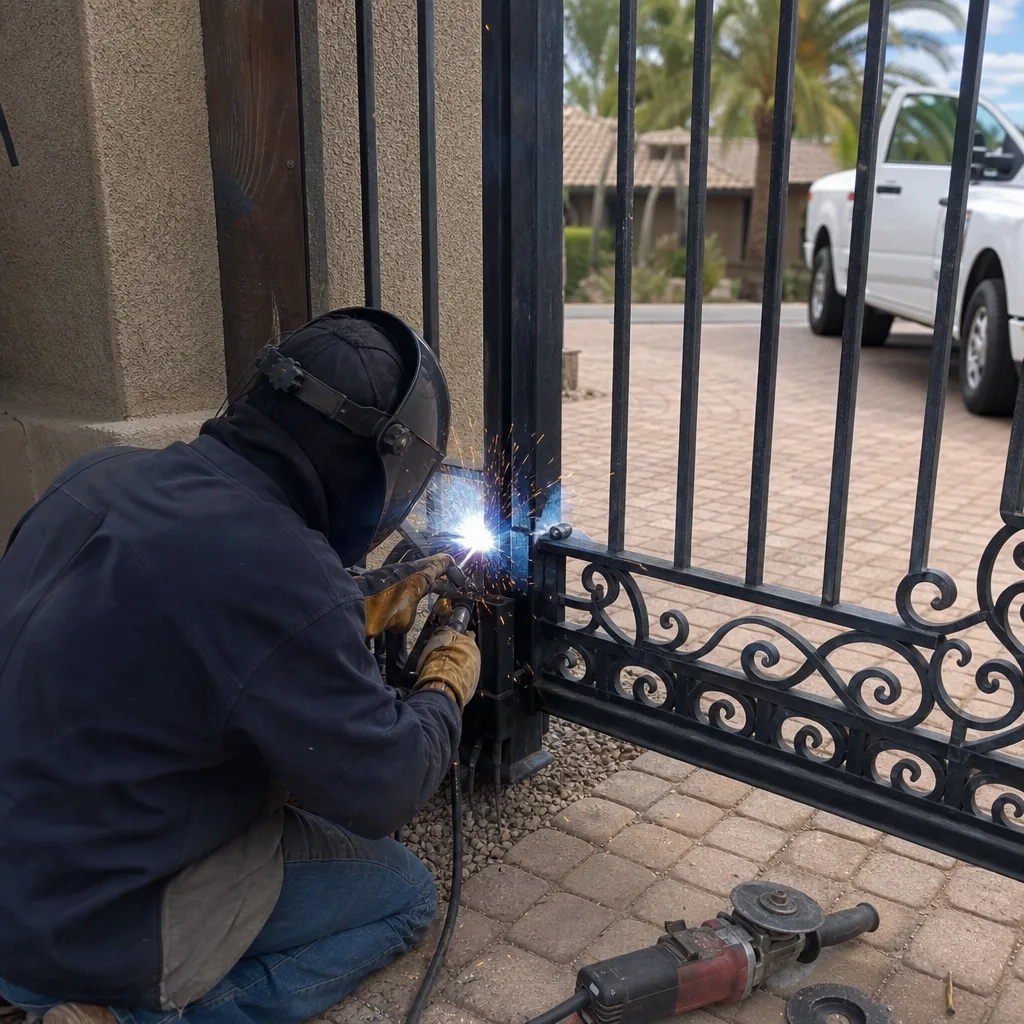
- Why Heat Kills Gates Differently in Scottsdale
- The Pre-Summer Inspection: April to May
- The Post-Monsoon Inspection: October
- Exact Measurements to Record and What Drift Looks Like
- Testing Photoeye Alignment Without Special Tools
- The Three Grease Points Scottsdale Dust Destroys
- Building Your One-Page Maintenance Log
- Common Mistakes to Avoid
- When to Call a Professional
- Frequently Asked Questions
- The Bottom Line
 Before
 After
AfterWhy Heat Kills Gates Differently in Scottsdale
Gate operators rated for “outdoor use” are typically tested to 140°F internal enclosure temperature. In Scottsdale, we’ve measured enclosure temperatures of 165°F on west-facing gates in July. The gap between specification and reality matters because it determines which components fail first and how to catch them.
The most heat-vulnerable components in order of typical failure:
- Control board capacitors: Electrolytic capacitors dry out faster at sustained high temperature. A board that functions at 150°F may produce erratic limit-switch signals at 160°F, causing the gate to stop short or overrun its travel. We’ve replaced more control boards in August than any other month.
- Limit switch microswitches: The physical contacts in mechanical limit switches expand and contract with temperature cycles. In Scottsdale’s dry heat, the plastic actuator arms become brittle; in the brief monsoon humidity, they absorb moisture and swell, changing the trigger point.
- Motor winding insulation: Every 10°C above rated temperature halves insulation life. A motor rated for 20,000 cycles at 40°C may deliver fewer than 5,000 at 55°C.
- Photoeye receiver sensitivity: Infrared receivers drift with temperature. A photoeye aligned in March may read as “obstructed” in July even with no physical movement, because the receiver’s sensitivity threshold has shifted.
Monsoon season adds a second stressor: humidity spikes from 15% to 85% in hours, then drops again. This cycle causes condensation inside enclosures that were designed for dry climates, corroding terminal blocks and creating intermittent short circuits. The combination of heat and humidity is why we schedule two distinct inspection seasons in Scottsdale, not one annual check, as covered in our Gate Repair Permits, Codes & Inspections in AZ: What You Need to Know.
North Scottsdale properties at higher elevation see wider daily temperature swings, 40°F or more, which accelerates thermal fatigue in welded joints. Lower-elevation properties near the Arizona Canal corridor experience more dust accumulation and slightly higher peak humidity. Both factors shape what to prioritize in your inspection.
The Pre-Summer Inspection: April to May
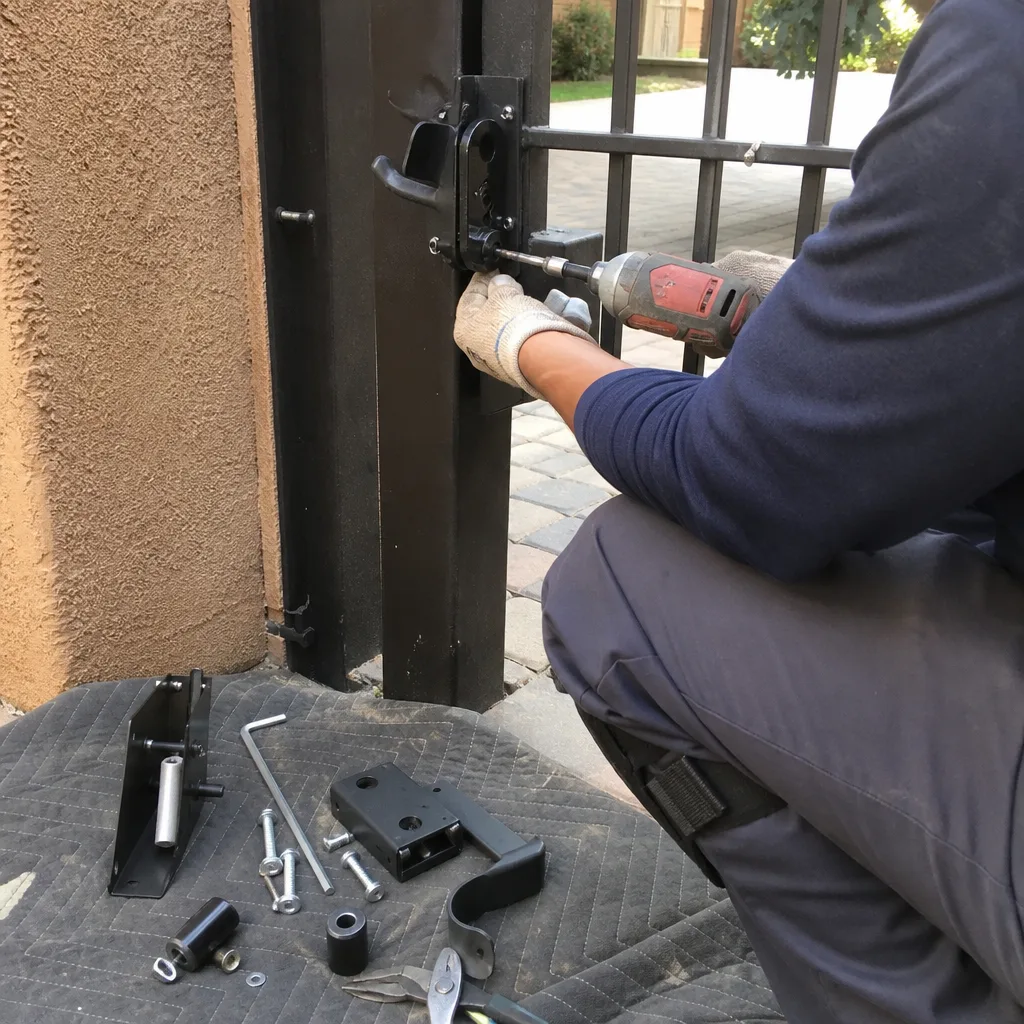
This inspection prevents the failures that peak in July and August. The goal is to establish baseline measurements before heat stress begins, and to address conditions that will worsen under thermal load.
Step 1: Electrical Enclosure Assessment
Open the operator enclosure during late afternoon, when it has absorbed a full day of sun. Touch-test the enclosure surface; if it’s too hot to hold your palm against for five seconds, the internal temperature is likely above safe operating range. Check for:
- Ventilation slots blocked by dust, spider webs, or landscaping debris
- Missing or degraded gasket around the enclosure door
- Discoloration of wire insulation near heat sources (transformer, motor)
- Capacitor casing deformation or leakage
If the enclosure lacks shade, consider adding a simple hood or relocating nearby vegetation to cast afternoon shadow. We’ve documented 20°F internal reductions from modest shade improvements.
Step 2: Mechanical Hardware Clearance Check
Measure hinge gap with the gate closed and at full open. Record both numbers. In Scottsdale’s dry heat, steel gates expand approximately 0.006 inches per foot per 100°F temperature rise. A 16-foot steel gate can grow nearly 1/8 inch from morning to afternoon peak. If your hinge clearance is already tight, this expansion binds the gate and overloads the operator.
Check for:
- Hinge pin wear: lift the gate slightly and feel for vertical play
- Track or guide roller condition on sliding gates; dust embeds in grease and becomes abrasive
- Gate frame squareness: measure diagonal corners; heat-welded joints can creep over years of cycling
Step 3: Photoeye Baseline Alignment
See the dedicated section below for the full procedure. In April, record the LED status under three conditions: direct morning sun, direct afternoon sun, and shade. Photoeyes that show intermittent “obstructed” signals in afternoon sun will fail completely by July.
Step 4: Operator Function Test
Run five full cycles. Time each cycle and note any variation. Listen for motor strain at start or stop. A motor drawing excessive amps to overcome binding will show as slower cycle times before it shows as a failure code. Record the amp draw if you have a clamp meter; if not, cycle-time consistency is your proxy metric.
Step 5: Drainage and Footing Inspection
Scottsdale’s hardpan soil doesn’t absorb monsoon rainfall quickly. Check that gate post footings sit above grade or have visible drainage channels. Water pooling at the base of a steel post accelerates corrosion from the inside out, where it’s invisible until the post wobbles.
The Post-Monsoon Inspection: October
This inspection addresses what the summer actually did to your gate. Even with a clean pre-summer check, three months of thermal cycling and humidity exposure create measurable changes.
Step 1: Re-Measure Everything from April
Compare your numbers. Hinge gap should be stable within 1/16 inch. Cycle time should vary less than 10%. Photoeye LED behavior should match the April shade reading. Any deviation indicates drift that will accelerate through the next season.
Step 2: Corrosion Check
Focus on terminal blocks, ground connections, and any steel hardware below 18 inches from grade. Monsoon humidity wicks upward through concrete and soil contact. We’ve replaced terminal blocks in October that were clean in April, with no visible water intrusion, purely from humidity cycling.
Check specifically:
- Battery terminals on backup systems: white or green corrosion indicates vapor exposure
- Low-voltage splice points: any greening of copper requires retermination
- Hinge pins and bolts at grade level: surface rust here progresses fast once started
Step 3: Dust and Grit Accumulation
Scottsdale’s summer dust storms deposit fine particulate that works into every moving interface. By October, this dust has absorbed whatever grease was present and formed an abrasive paste. The three grease points section below covers where to clean and re-lubricate.
Step 4: Control Board Capacitor Test
If your operator shows any intermittent behavior, summer heat has likely degraded capacitors. Unlike a clean failure, heat-degraded capacitors produce symptoms that come and go with temperature: the gate works at 8 AM, stalls at 2 PM, works again at 7 PM. This pattern is nearly diagnostic for capacitor wear.
Step 5: Prepare for Winter
Scottsdale’s winter is mild but brings occasional freeze events. Drain any water accumulation in low points of the gate frame. Check that heater elements, if present in the operator, function before they’re needed.
Exact Measurements to Record and What Drift Looks Like
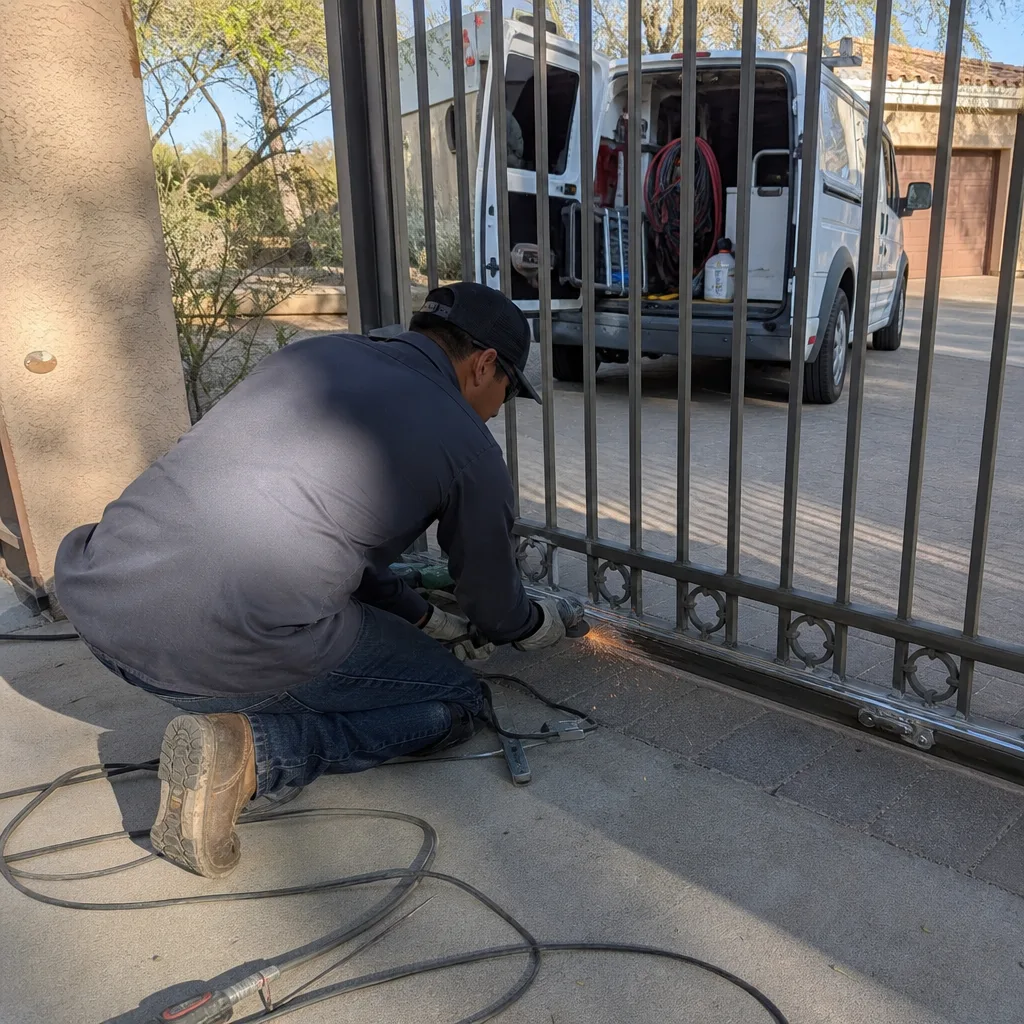
Maintenance without measurement is just observation. These are the numbers we record on every gate repair in Scottsdale, and the thresholds that trigger action before failure.
| Measurement | How to Take It | Normal Range | Drift Threshold |
|---|---|---|---|
| Hinge gap (swing gate) | Feeler gauge or folded business card at top hinge, gate closed | 1/16 to 1/8 inch | Change > 1/32 inch from prior reading |
| Track clearance (slide gate) | Measure from wheel to track at three points | 1/8 to 3/16 inch | Any point < 1/16 inch or > 1/4 inch |
| Cycle time | Stopwatch, full open to full close | Consistent within 10% | Any single cycle > 15% slower |
| Motor amp draw | Clamp meter on motor lead during operation | Within 20% of nameplate FLA | Increase > 20% from baseline |
| Limit switch travel | Measure gate position at switch trigger | Matches physical stop | Shift > 1/2 inch from setting |
| Photoeye alignment | See test procedure below | Green LED steady, no flicker | Intermittent red in any light condition |
What drift looks like in practice: A swing gate in McCormick Ranch measured 3/32 inch hinge gap in April 2023. By October, it measured 1/16 inch. The change indicated pin wear that would have progressed to binding by the following summer. We replaced the pin during scheduled maintenance; the gate operated two more years without incident. Without the measurement, the homeowner would have called with a stalled operator, possibly requiring motor replacement from overload.
Another case: a Linear operator in Scottsdale showed 2.8 amp draw in April, 3.4 amps in October. The 21% increase indicated track misalignment from thermal cycling. Realignment restored the original draw and prevented motor burnout.
Testing Photoeye Alignment Without Special Tools
Photoeyes (the infrared beam pair that stops the gate if something crosses the path) are the most misdiagnosed component in gate service. “Photoeye obstruction” is the default error code, but the actual cause is often alignment drift, sunlight interference, or receiver sensitivity shift, not a physical blockage.
The business card test: With the gate open and operator powered, slide a standard business card vertically through the beam path at the receiver end. The transmitter LED should stay lit; the receiver LED should switch from green to red when the card blocks the beam, and back to green immediately when removed. If the receiver LED flickers or stays red with no obstruction, alignment has drifted.
The shadow test: In direct afternoon sun, hold your body to cast shadow on the receiver lens. If the LED changes from red/flickering to steady green, sunlight is overwhelming the receiver. This is common in Scottsdale’s intense solar exposure and indicates either misalignment (the receiver is “looking” too much toward the sky) or a degraded lens coating.
The wiggle test: Gently move the receiver bracket while watching the LED. Note the exact position where green is steadiest. Mark this position with tape or a pencil line. If the bracket has shifted from your mark at next inspection, vibration or thermal expansion has moved it.
Borderline versus clean reading: A clean alignment shows solid green LED under all normal light conditions, with instant transition to red on obstruction. A borderline reading shows occasional flicker to red with no obstruction, or delayed return to green after obstruction clears. Borderline readings fail within one season in Scottsdale’s heat; schedule realignment before they become hard faults.
For FAAC and BFT operators common in Scottsdale’s higher-end installations, the receiver LED behavior varies by model series. Consult your manual for the specific blink pattern, or call for documentation under our free second-opinion policy.
The Three Grease Points Scottsdale Dust Destroys
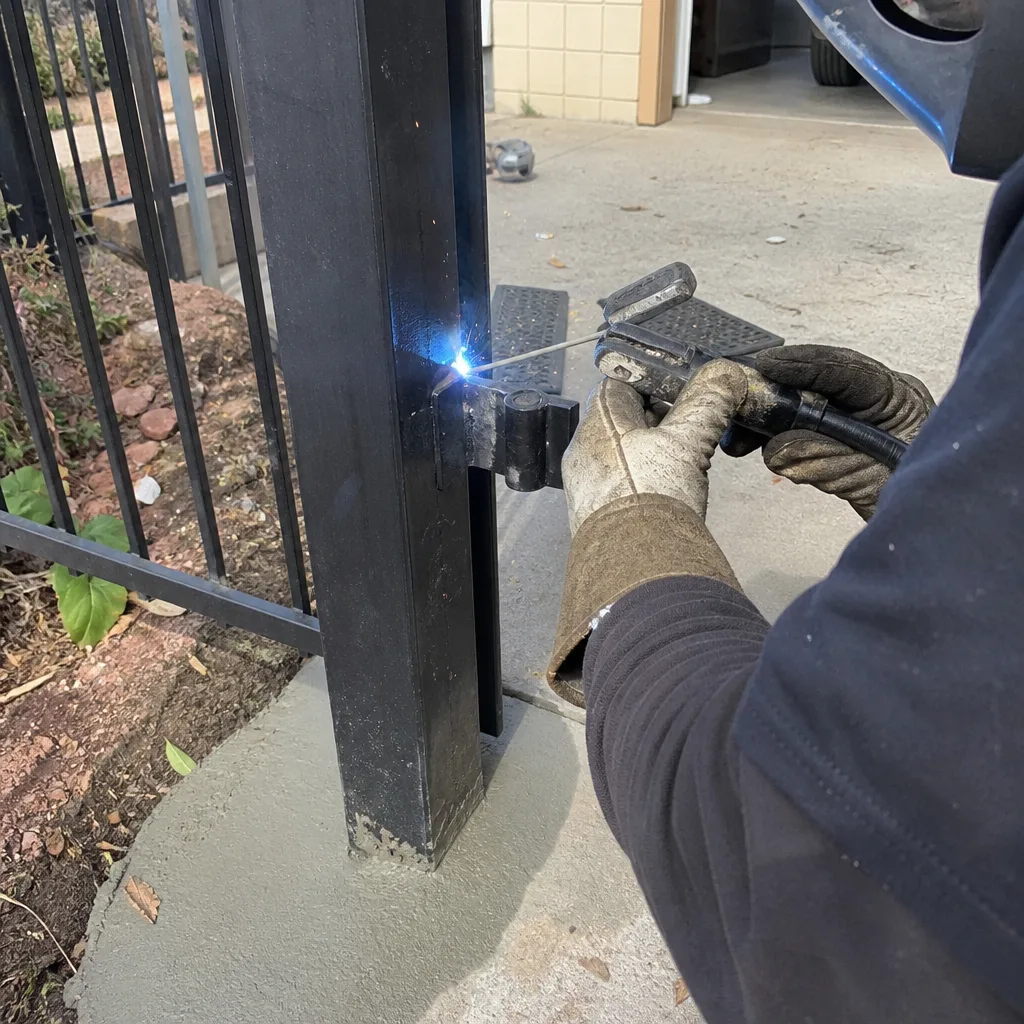
Grease is not universally beneficial in desert environments. The wrong grease, or grease left too long, becomes a dust trap that accelerates wear. We’ve disassembled hinges packed so solid with dust-grease mixture that the pin was effectively welded in place.
Point 1: Hinge pins and bushings
How to tell packed grease from adequate grease: Remove the hinge pin if possible, or at least rotate the gate to its maximum position and inspect the exposed pin surface. Adequate grease shows as a thin, consistent film with visible metal underneath. Packed grease is a thick, black or gray paste that obscures the pin surface entirely. In Scottsdale, packed grease typically forms within 18 months of over-greasing or using a heavy NLGI #2 grease instead of a lighter #1 or #0 grade.
Clean packed grease with solvent and a brush, then apply a thin film of lithium-based #1 grease or dry PTFE lubricant. The goal is lubrication without accumulation.
Point 2: Track and roller interfaces (sliding gates)
Rollers should roll, not slide. Lift the gate slightly so a roller is unloaded; it should spin freely with a finger flick. If it doesn’t, disassemble and clean the bearing. Grease the bearing inner race only, never the outer surface or track. Track surfaces should be clean and dry; any grease on the track collects dust and creates a grinding compound.
Point 3: Operator drive components
Rack-and-pinion or chain-drive operators have manufacturer-specified lubrication points. For Viking and other operators we service in Scottsdale, the specification is typically a light machine oil on the chain or rack, not grease. Grease on these components attracts dust and stiffens in cold winter mornings, causing startup overload. Follow the manual precisely; if the manual is lost, we maintain documentation for nine major brands and can provide the correct specification.
Building Your One-Page Maintenance Log
The Haven Standard requires documented evidence on every job. For homeowners, a simple maintenance log achieves the same purpose: any technician who arrives in two years can see what’s been done, what’s drifted, and what’s been replaced.
Format the log as a single page, kept in a sheet protector inside the operator enclosure or taped to the interior of a nearby utility box. Include:
- Property address and gate location: “Front driveway, west-facing”
- Operator make, model, and serial number: Photograph the nameplate
- Date and inspector name for each inspection
- The six measurements from the table above, with columns for April and October readings
- Parts replaced, with date and part number: “Limit switch, Honeywell BZ-2R, 4/15/2024”
- Technician contact: Who did the work, with phone number
Example log entry:
10/15/2024 - Post-monsoon inspection. Hinge gap: 5/64″ (was 3/32″ in April). Cycle time: 14.2 sec consistent. Amp draw: 3.1A (was 2.9A in April). Photoeye: green steady, passed all tests. Grease: cleaned and re-lubed hinge #2 (packed). No other action. Next inspection: April 2025.
This log transforms a service call from diagnostic time to repair time. A technician who sees three years of stable hinge-gap readings knows to look elsewhere when the gate binds. A technician who sees amp draw climbing 0.2A per year knows to check mechanical loading before replacing a “failed” motor.
For new gate installations in Scottsdale, we provide the first log entry as part of commissioning documentation, establishing baselines before any drift occurs.
Common Mistakes to Avoid
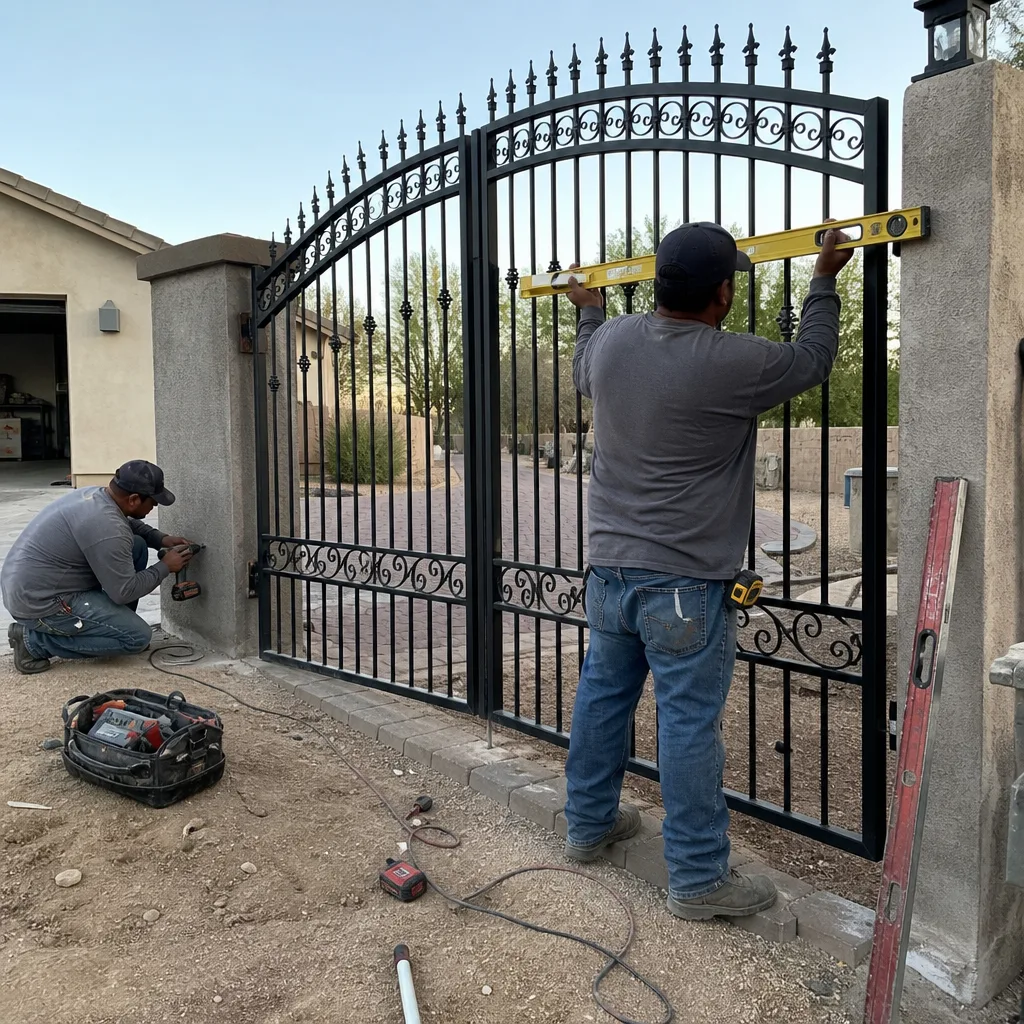
- Over-greasing hinges and tracks: More grease attracts more dust, creating abrasive paste. In Scottsdale’s dust environment, thin and frequent beats thick and occasional.
- Ignoring afternoon-only symptoms: A gate that works mornings but stalls afternoons has a heat-related issue, typically capacitor or motor insulation degradation. Waiting for complete failure usually destroys the more expensive component.
- Cleaning photoeye lenses with household glass cleaner: Ammonia-based cleaners degrade the anti-reflective coating. Use water and a microfiber cloth only.
- Skipping the post-monsoon inspection: Summer feels like the danger season, but corrosion from humidity exposure often manifests in October and November when temperatures drop and condensation forms in previously warm enclosures.
- Adjusting limit switches without measuring: Each adjustment should be recorded. We’ve found gates with limit switches adjusted four times in two years, each time compensating for progressive mechanical wear that should have been fixed instead.
- Using non-gate-specific technicians for complex operators: A general handyman can lubricate hinges, but FAAC, BFT, and Viking operators have specific diagnostic procedures and proprietary fault codes. Incorrect troubleshooting often causes secondary damage.
- Storing the maintenance log inside the operator enclosure without protection: Paper becomes illegible from heat and humidity. Use a sheet protector or aluminum tag with engraved data.
When to Call a Professional
Some conditions require trained technician assessment, not homeowner maintenance, and our Gate Repair services are available when they do. Call for service if you observe any of the following: motor amp draw exceeding nameplate rating, control board capacitors showing leakage or deformation, gate frame cracks or weld failures, post movement or footing erosion, or any electrical condition that produces burning odor or visible arcing.
Gate springs under tension, high-voltage electrical enclosures, and welded structural repairs carry genuine injury risk. We document every safety-related recommendation in writing and provide photographic evidence of the condition found.
Vance Gate Repair Scottsdale offers free estimates in Scottsdale. Call (928) 363-3921 to schedule inspection, repair, or to bring a written estimate from another company for our free second-opinion review. A live person answers at any hour.
Frequently Asked Questions
Biannual inspection is the minimum: late April before sustained heat, and mid-October after monsoon season ends. Gates with heavy daily use, west-facing exposure, or operators more than five years old benefit from quarterly checks. Call (928) 363-3921 to schedule a professional inspection if your gate sees more than 20 cycles daily.
Professional maintenance inspection typically runs $150-$250 for a single residential gate, depending on operator complexity and access conditions. This includes full measurement documentation, photoeye alignment verification, and a written condition report with photographic evidence. Repairs found during inspection are quoted separately under Haven Standard Clause 1: written price before any work begins. Call (928) 363-3921 for exact pricing on your specific gate.
Homeowners can safely perform visual inspection, cleaning, photoeye testing, and basic measurement recording. Any work involving electrical enclosure internals, spring tension adjustment, or welded repair requires proper training and tools. We provide the maintenance log format at no charge so you can record observations; our technicians handle the hazardous components. For more guides & resources, see our blog. Free estimates are available at (928) 363-3921.
This pattern indicates thermal stress on electrical components, most commonly control board capacitors or motor winding insulation. As enclosure temperature rises through the day, degraded components fall out of specification. The condition worsens progressively; eventual failure is usually complete and often damages additional components. Schedule inspection before the pattern becomes a hard failure.
Clean the lens first with water and microfiber cloth. If the LED still flickers, perform the business card test and shadow test described above. A dirty photoeye shows consistent red LED with no obstruction; misalignment shows intermittent flicker or afternoon-only failure. If both tests pass and problems persist, receiver sensitivity has likely drifted from thermal aging, requiring replacement.
New gates in Scottsdale require measurement baseline establishment at 30 days after installation, then first full inspection at the six-month mark. This catches installation settling, hardware torque relaxation, and any manufacturing defects before warranty expiration. We include the 30-day baseline documentation with every gate installation under Haven Standard Clause 4.
We service nine major automation brands: LiftMaster, FAAC, BFT, Linear, Viking, Ghost Controls, DoorKing, Elite, and Mighty Mule. Our technicians carry documentation and common parts for all nine, so we repair what’s installed rather than steering toward replacement. This is particularly valuable in Scottsdale’s mature neighborhoods where operators from multiple brands and eras are common.
The Bottom Line
Gate maintenance in Scottsdale is not a generic lubrication task. It’s a heat-aware, measurement-driven inspection sequence that accounts for sustained 110°F exposure, monsoon humidity cycling, and dust accumulation that packs grease into abrasive compound. Record baseline measurements in April. Compare them in October. Address drift before it becomes failure. Keep a one-page log that any technician can read in two minutes. The cost of this discipline is a few hours annually; the return is avoiding emergency service calls, extending operator life, and maintaining the security and convenience your gate was installed to provide.
Under The Haven Standard, every Vance Gate Repair visit leaves documented evidence: what was found, what was adjusted, what was replaced, and what it cost, established in writing before any work started. The 365-Day Done Right Promise covers all completed work with no expiration within that window.
Call (928) 363-3921 for a free estimate, schedule a seasonal inspection, or bring any written estimate from another company for our free second-opinion review. A live person answers at any hour.
Written by Adrian Vance, Owner at Vance Gate Repair Scottsdale, serving Scottsdale since 2014.